Welcome to
Sasico - SaaS Software & Tech Startup NextJs Template. We would like to thank you
for choosing our template -
sasico.
It’s built with the most modern tools
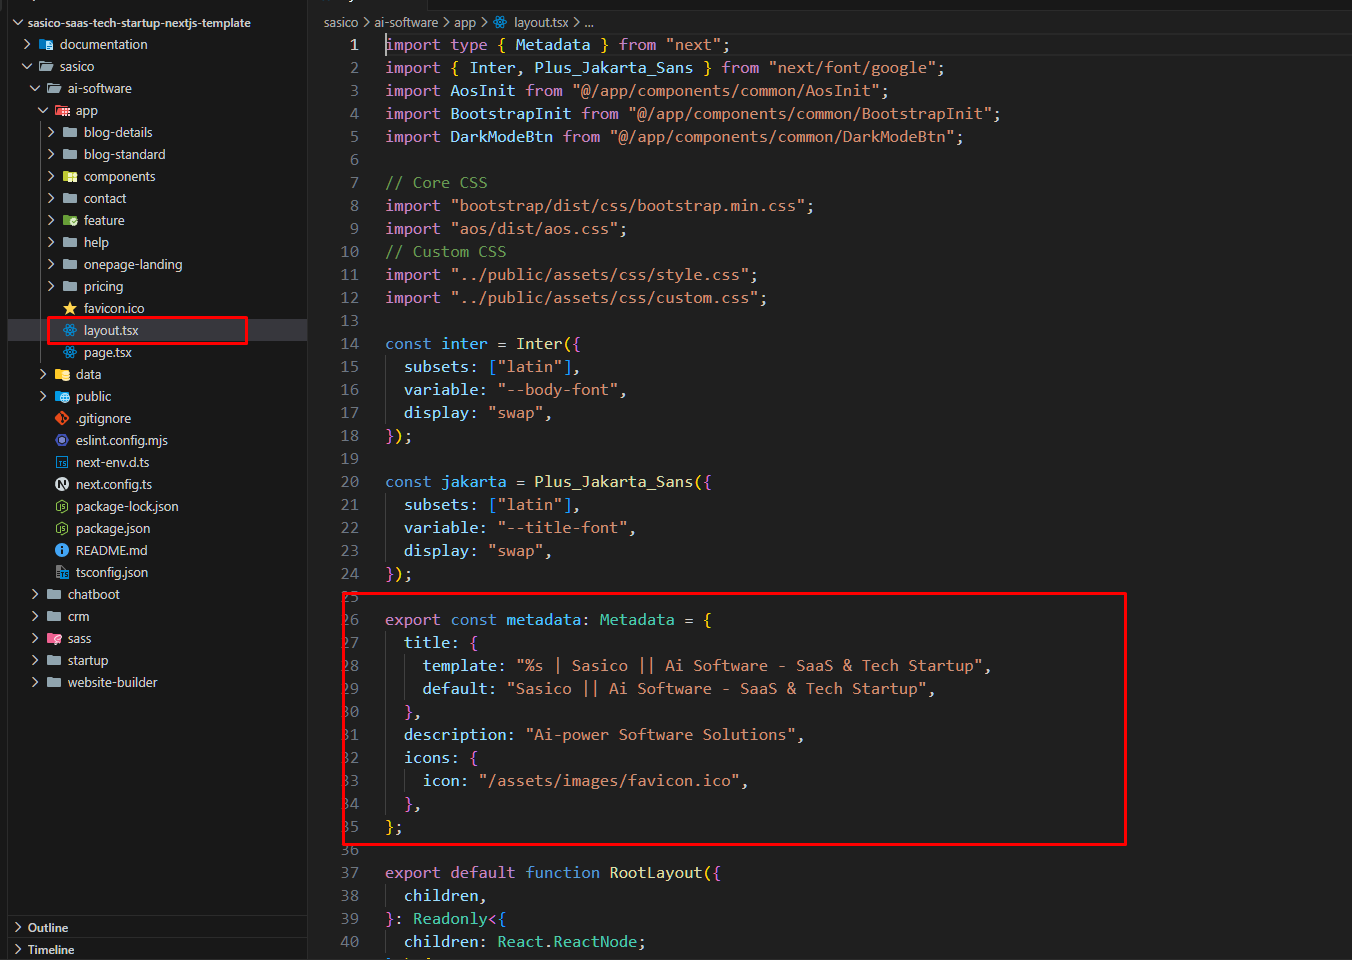
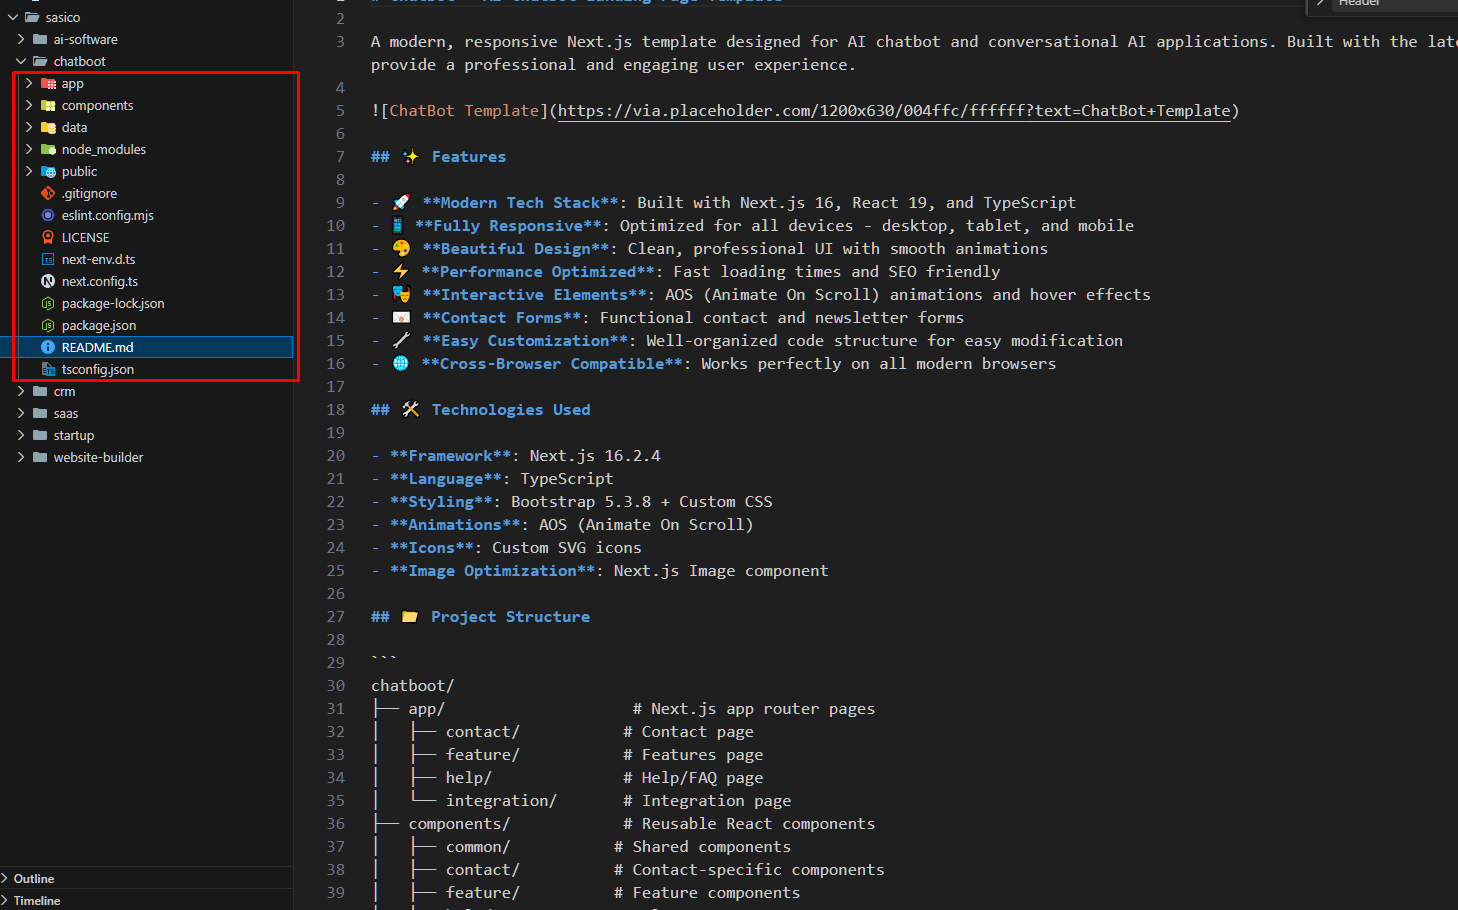
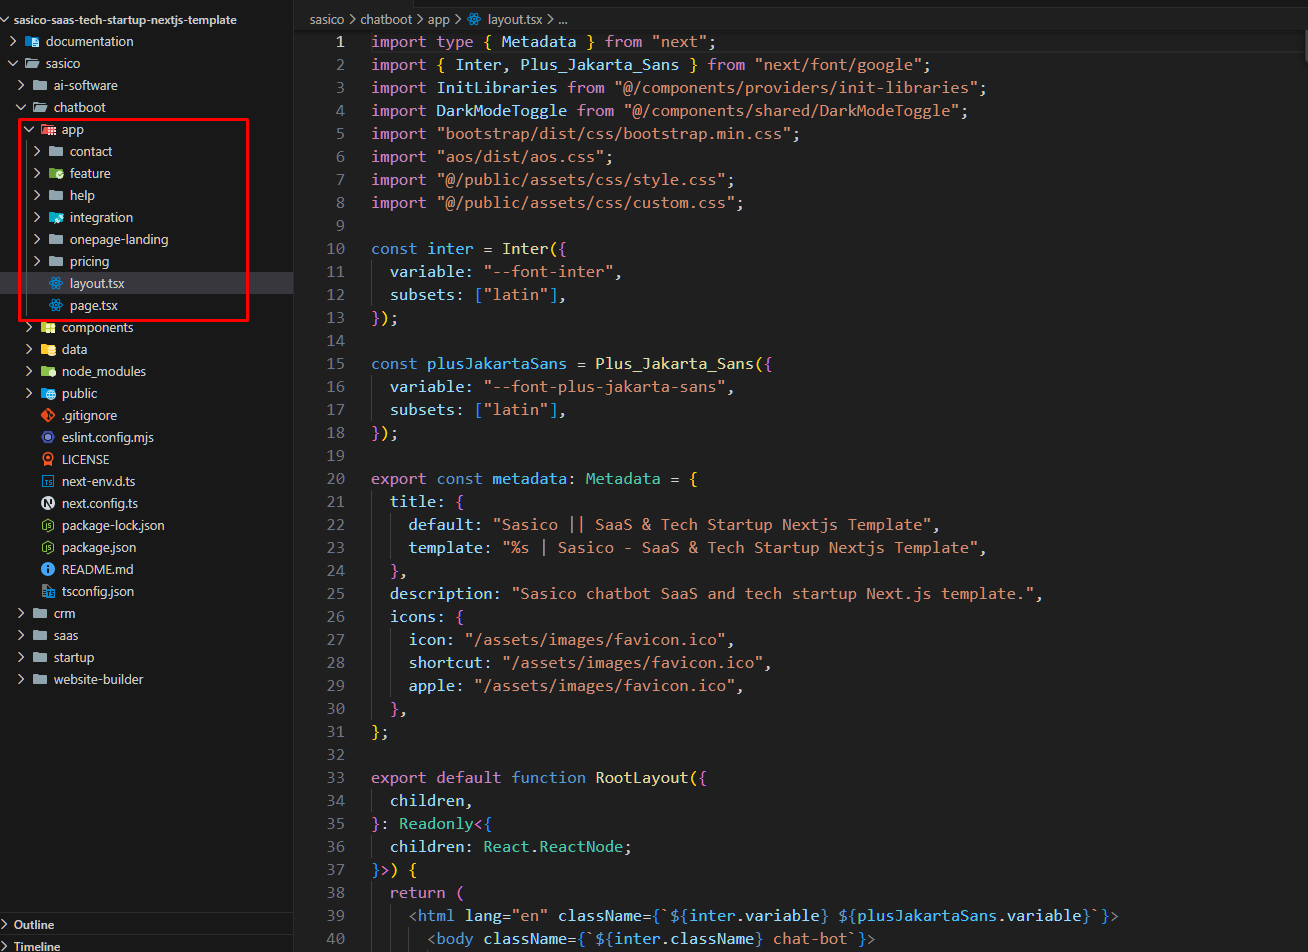
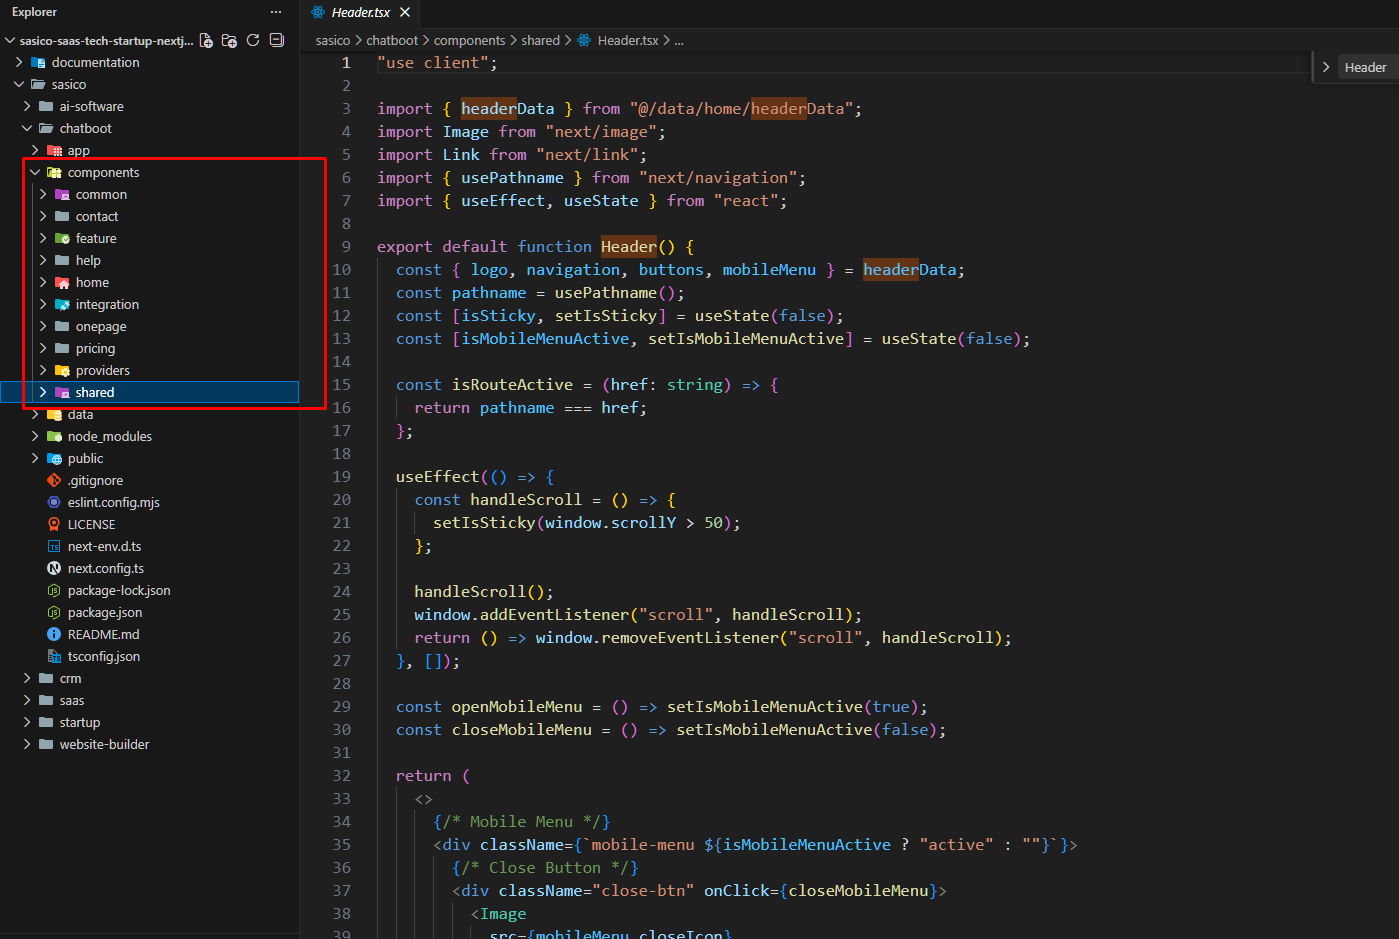
Next.js + TypeScript + Bootstrap 5. It’s a
high‑quality and well organized Next.js template specially
designed to fit all the needs of AI, technology, SaaS and
digital agency websites. With a wide variety of custom
sections, multiple homepages and inner pages, and endless
design possibilities.
It’s a very complete and highly customizable Next.js
template that will help you build your own website
layouts. It's simple, elegant, extensive and professional.
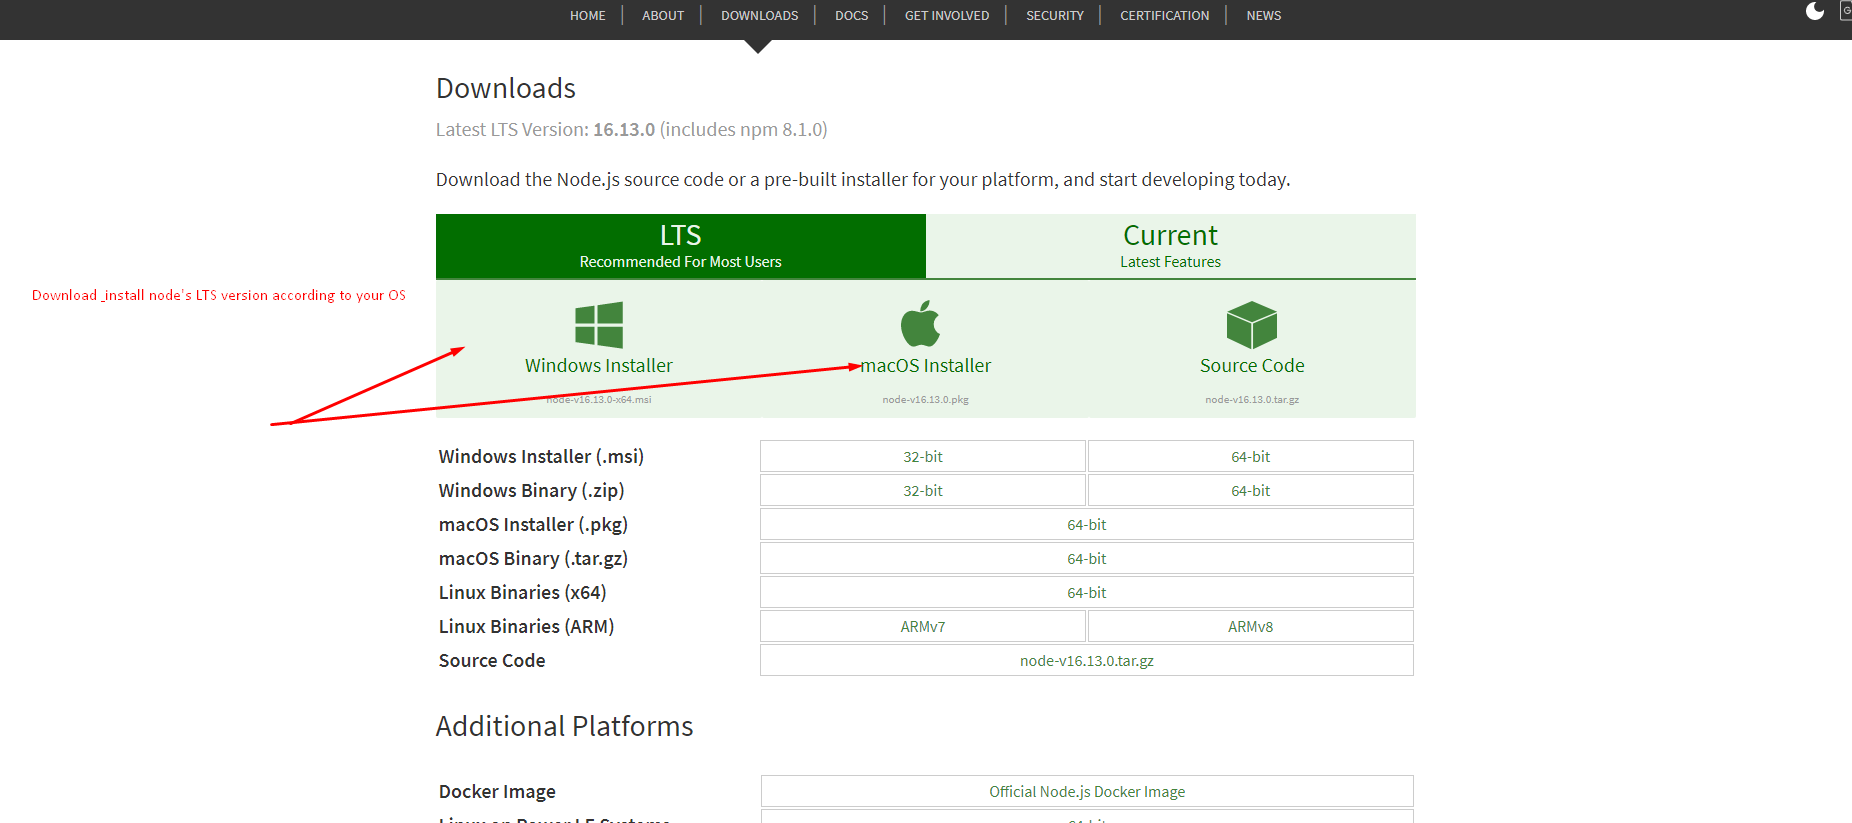
Requirements
There are system requirements in order to install and
setup this template and its components properly. Make sure
that you already installed Node.js and
npm in your pc
Recommended node and npm
Install npm
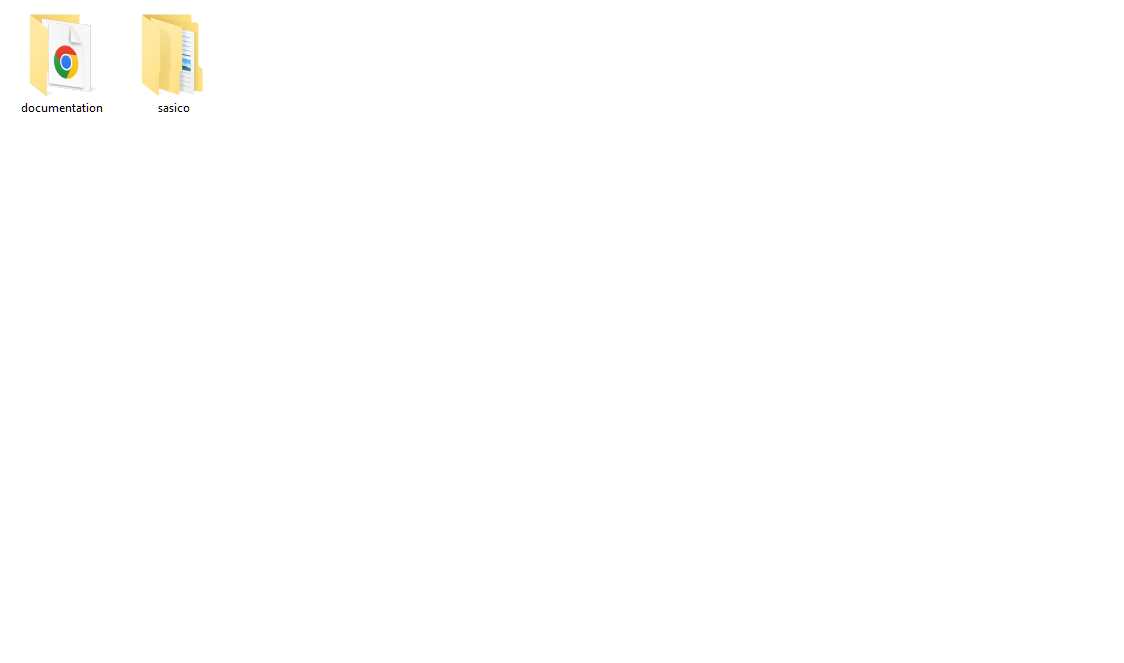
What's Included
After purchasing sasico template on themeforest.net with
your envato account, go to your download page. You can
choose to download sasico template only (Installable
Next.js template) or the entire sasico package. After
extracting the package you will find following this files:
You can get the following items after purchasing our
template from themeforest
sasico - An installable Next.js template
zip file. this file you need to upload
License - This folder contains the
terms and conditions of the license.
Documentation - This folder contains
what you are reading now :)
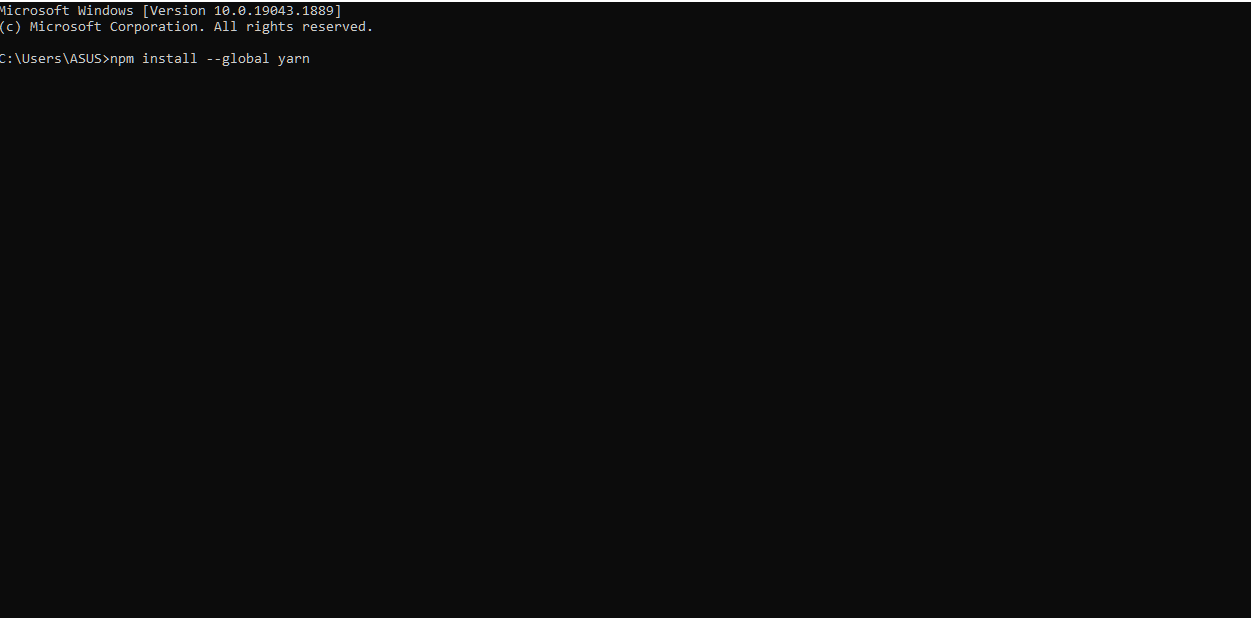
Next Installation
Please follow the instructions in the video to see how you
can install Next on your hosting:
For local host -
Open you command prompt
npm install
npm run dev (will start the dev server at
http://localhost:3000)